Orka 3.0: Upgraded Resource Grouping with Kubernetes
Now that Orka is Kubernetes native, resource grouping is easier than ever, and you can orchestrate your macOS VMs with Kubectl commands!
Continue reading to explore more about resource grouping in Orka 3.0.
Previous resource grouping challenges
Resource grouping has come a long way from past updates. Past grouping functionality was custom-built, which made it harder to learn and even harder for our team to maintain over time.
- Clusters were clunky. Only nodes could be added to a group.
- Users could only belong to a single group.
- Users could see nodes in groups they did not belong to.
- Users were only able to see VMs and VM configs that they created, making it impossible to share resources within a group.
In addition, the provided sandboxed namespace had similar limitations. While the prior version of Orka allowed users to deploy their own Kubernetes resources inside an Orka cluster, (e.g. Users could deploy their own Jenkins controller inside the cluster.) it was not possible to isolate these Kubernetes resources from other users in that single namespace.
Enter 3.0
Orka 3.0 takes a completely different approach to grouping. Instead of having custom-built functionality, it leverages Kubernetes namespaces, which allows you to create custom isolated resource groups. The k8s namespaces can seamlessly handle grouping in a familiar way using Kubectl.
Orka 3.0 allows admin users to create namespaces with two different permissions sets:
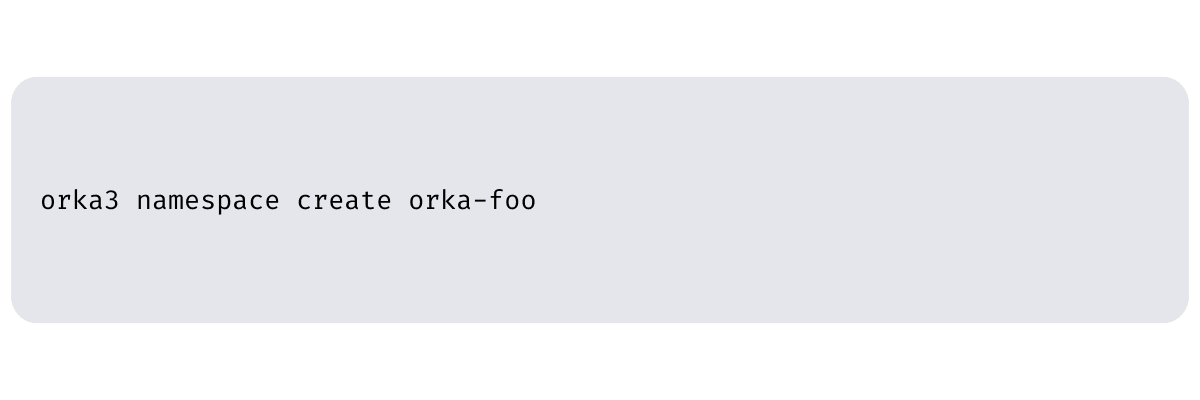
1. Orka resource permissions – Give users within this namespace permission to manage Orka resources such as VMs, images, nodes, etc. Every Orka cluster has a default namespace with these permissions called orka-default. To create additional namespaces with this permission set, run the following command:
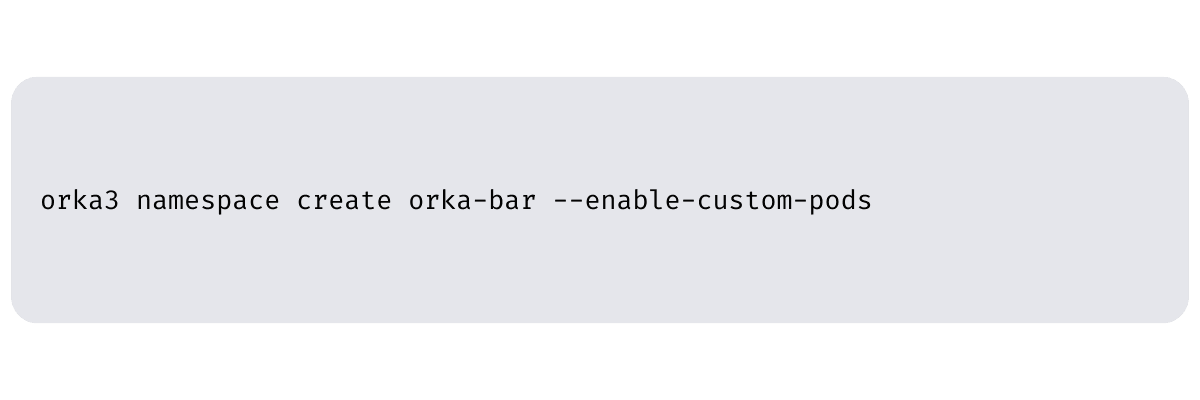
2. Kubernetes resource permissions – Give users within this namespace permission to manage Kubernetes resources such as deployments, pods, secrets, etc. (NOTE: As of publishing, you must have at least one Intel node in your cluster for this feature to work.) To create a namespace with this permission set, run the following command:
Grouping Resources in Namespaces
Orka 3.0 currently allows grouping nodes and VMs in namespaces. Initially all resources live in the orka-default namespace, which allows managing Orka resources.
The orka3 CLI targets this namespace by default. To group resources in a new namespace:
1. Create a new namespace:
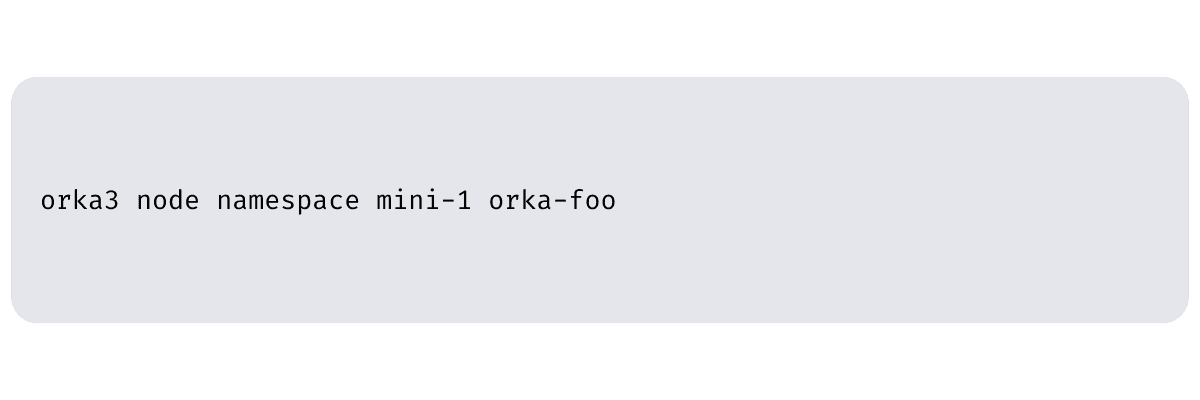
2. Move a node to the newly created namespace:
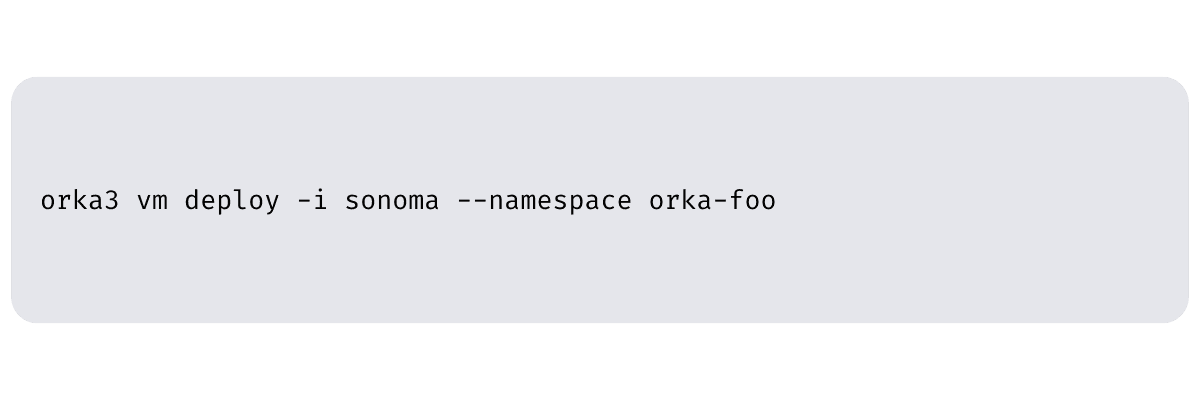
3. Deploy a VM in the newly created namespace. This deploys the VM on one of the nodes in that namespace. In this case, the node is mini-1:
To manage resources in a specific namespace, use the --namespace flag in the orka3 CLI:

Managing Permissions
Orka 3.0 leverages Role-based Access Control (RBAC) to manage permissions. Admin users can use RoleBindings to grant users and service accounts permissions within a namespace or a cluster.
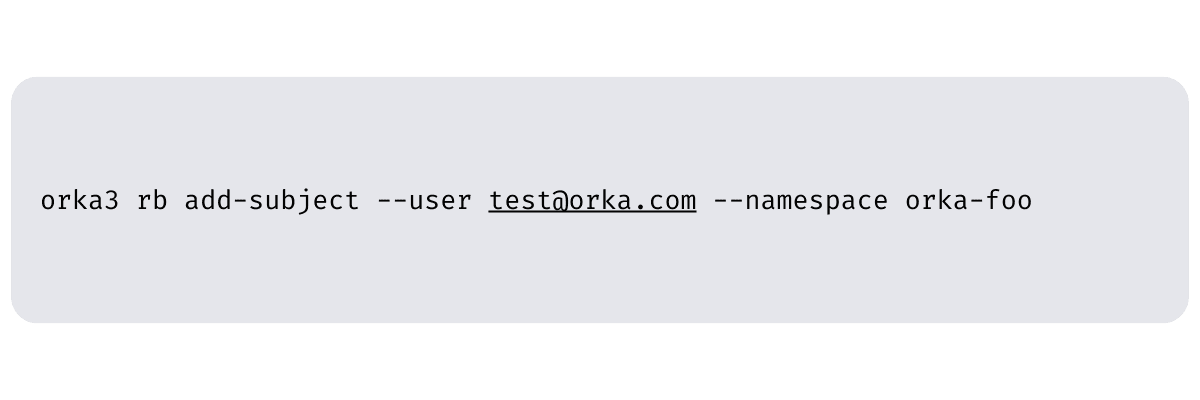
To grant dev access to the user test@orka.com to the orka-foo namespace, run the following command:
To grant dev access to the service account orka-sa to the orka-foo namespace, run the following command:

Admin users can also review who has access to a namespace and remove this access with the following commands:

Permissions Specifics
It is important to note that:
- Admin permissions can only be managed from within the MacStadium Portal. Non-admin users cannot be granted admin privileges with role bindings.
- Admin users have admin privileges in all orka- namespaces.
- Dev users only have access to the orka-default namespace by default. They need to be granted access to other namespaces.
- Service accounts have access to the namespace in which they have been created default. For example, if you create a service account in the namespace orka-foo, you do not need to explicitly give it access to this namespace.
- Users and service accounts need access to the orka-default namespace in order to deploy VMs. That’s because images live in this namespace, and users and service accounts need to be able to access them.
- Users and service accounts now see all VMs in a namespace regardless of ownership.
- Users and service accounts cannot see VMs or nodes in other namespaces.
- At the time of publishing, Roles, and ClusterRoles are not able to be customized by admin users.
TL;DR
“Good fences make good neighbors.”
Orka 3.0 brings the power and ease of Kubernetes namespaces to your Orka environment so that you can easily group and partition resources for specific uses or teams. Orchestrate your macOS VMs with Kubectl commands that your team is already familiar with to save time getting started. Just follow three simple steps:
- Create a custom namespace
- Add resources
- Add users
Want to see what else is new in Orka 3.0? Check out our Orka 3.0 overview!